Moisture issues can ruin LVP floors and profits fast. Are your installers struggling with these costly problems? I can guide you on preventing LVP cupping for good.
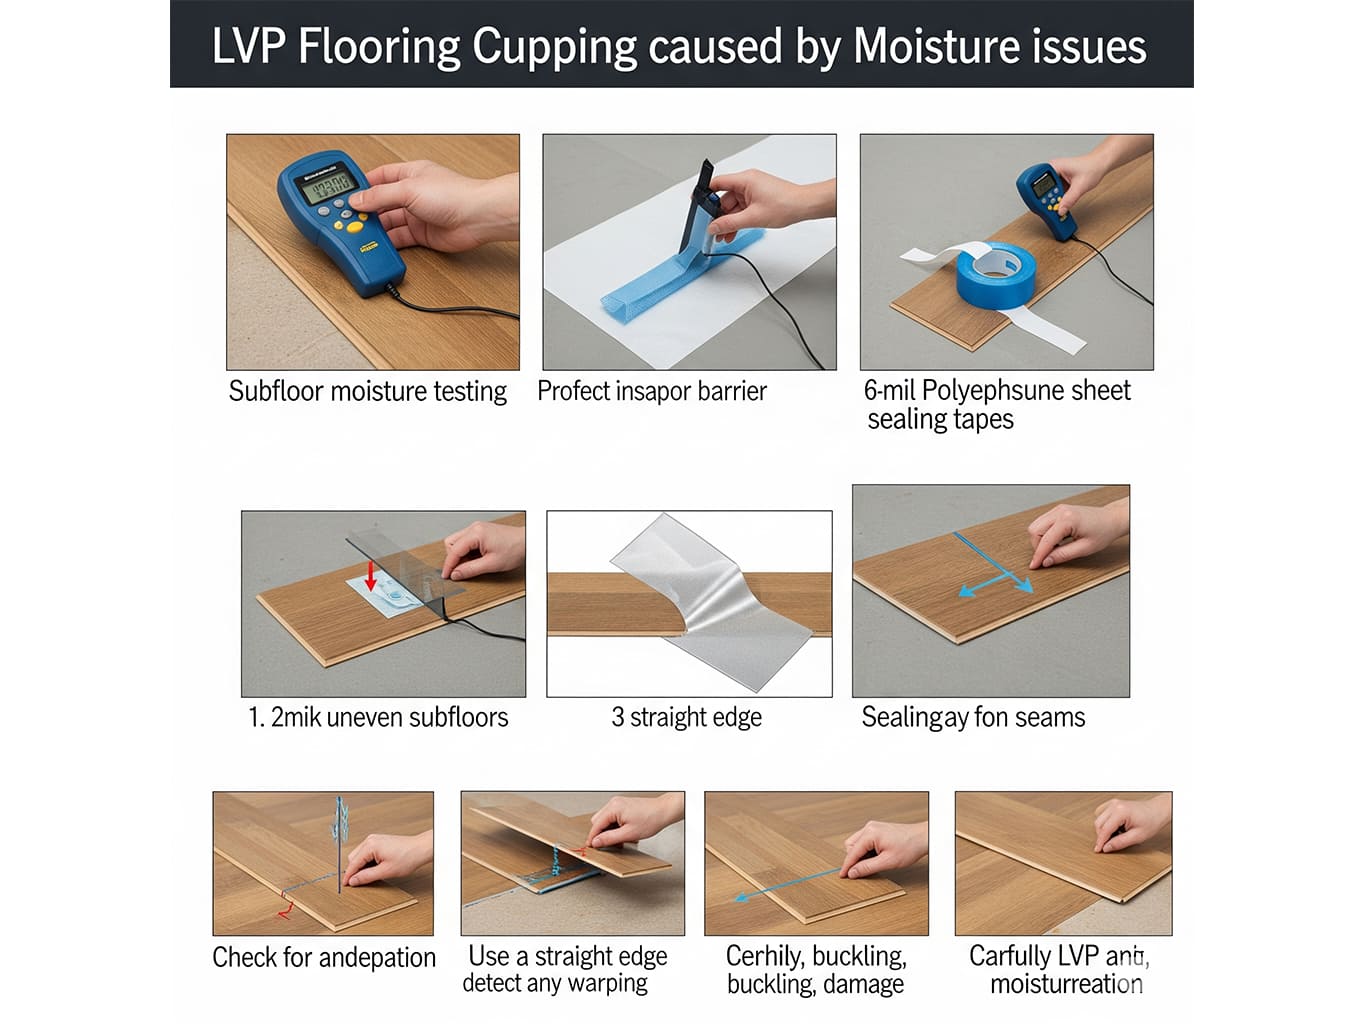
Distributors can help installers prevent LVP cupping by teaching them visual inspection techniques for moisture issues, emphasizing crucial subfloor moisture testing, and stressing the proper use of vapor barriers. This proactive approach ensures durable LVP installations and boosts customer satisfaction and product longevity.

Preventing LVP cupping is not just about floor longevity; it is about protecting your reputation and your customers’ investments. As a factory owner, I have seen firsthand how easily these issues can arise without proper knowledge. Let’s explore how you can empower your installers.
What visual signs differentiate LVP Cupping (edges higher than center) from crowning (center higher than edges)?
Is your LVP floor failing? Do you see the edges curling up? This is cupping. I will show you how to spot these vital visual differences.
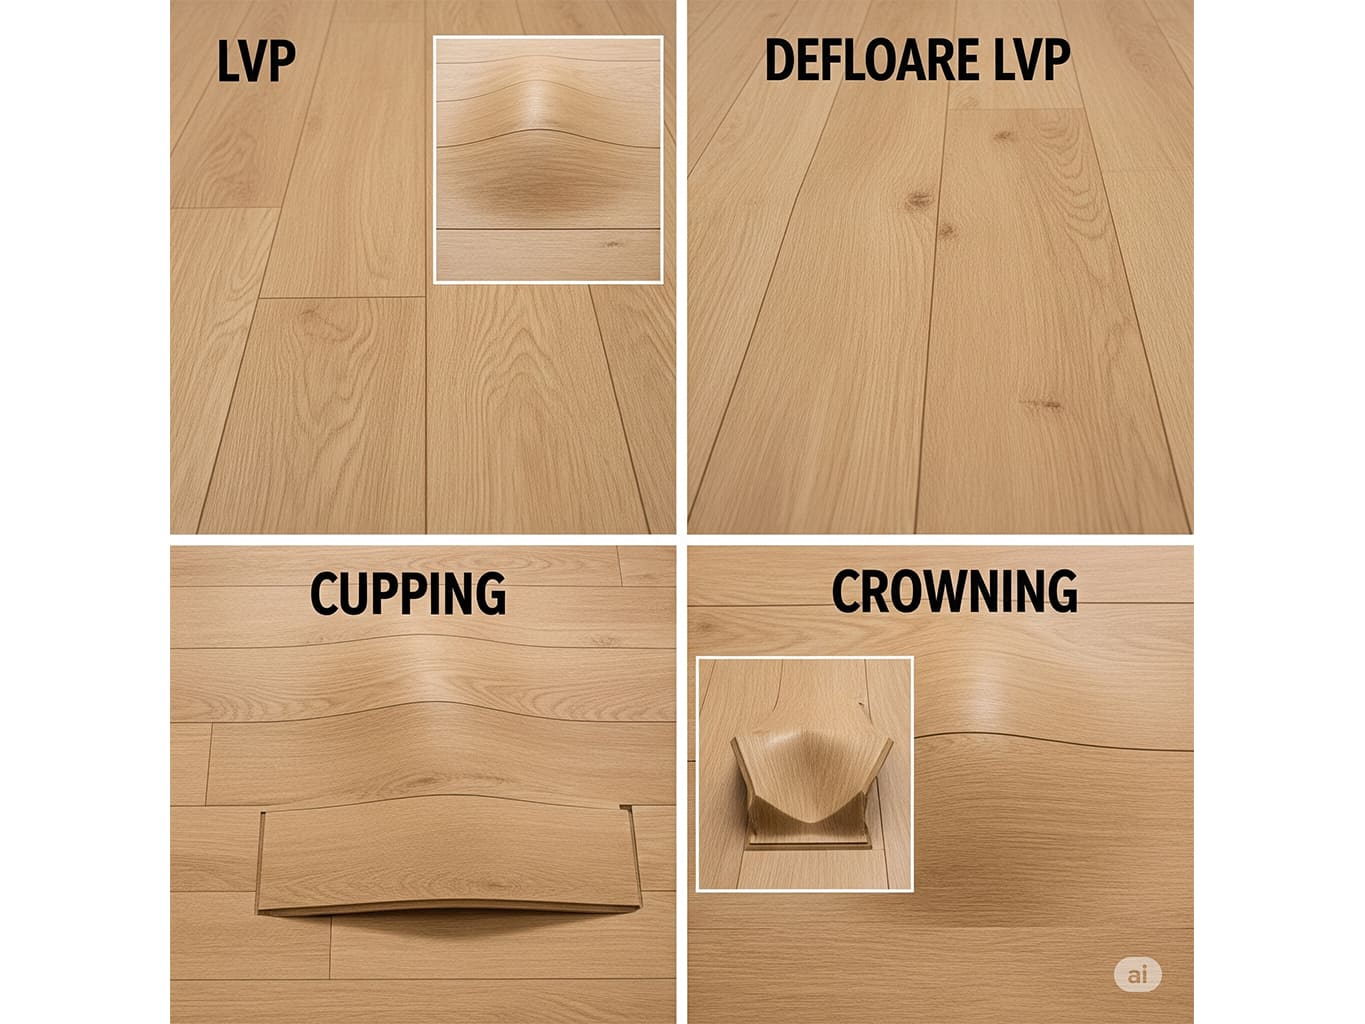
LVP cupping shows edges higher than the center, creating a concave shape. Crowning, however, features the center higher than the edges, forming a convex shape. Differentiating these is key for installers to diagnose underlying moisture issues accurately and ensure the right fix.

Understanding the difference between cupping and crowning is vital for installers. A misdiagnosis means a wrong fix, wasting time and money. I have seen many cases where installers thought it was one thing, but it was actually another.
How does LVP Cupping look?
LVP cupping1 happens when the bottom of the plank absorbs more moisture than the top. This makes the edges lift higher than the center. Imagine a shallow bowl, with the edges curving upwards. You will see this as small gaps or raised seams between planks. This is common with concrete subfloors that are not properly sealed. It means moisture is coming from below the flooring.
How does LVP Crowning look?
Crowning is the opposite. The center of the plank rises higher than the edges. This happens when the top surface of the LVP absorbs moisture. Think of a small hill in the middle of the plank. This is less common with LVP because it is very water-resistant. But it can happen if there is a big water spill on the surface for a long time.
Why is this important for installers?
Knowing these signs helps installers prevent issues. Distributors like us supply top-quality LVT and SPC. But even the best product needs correct installation. Education on these visual checks saves everyone from costly repairs.
| Feature | LVP Cupping | LVP Crowning |
|---|---|---|
| Appearance | Edges are higher than the center | Center is higher than the edges |
| Shape | Concave (like a bowl) | Convex (like a hill) |
| Primary Cause | Moisture from below the plank | Moisture from above the plank |
| Prevention Focus | Subfloor moisture barrier | Surface moisture control |
What subfloor moisture testing methods should distributors educate installers about to prevent LVP Cupping?
Moisture is a hidden enemy for LVP floors. Ignoring it leads to big problems and costly repairs. I will show you how to ensure proper testing for lasting installations.
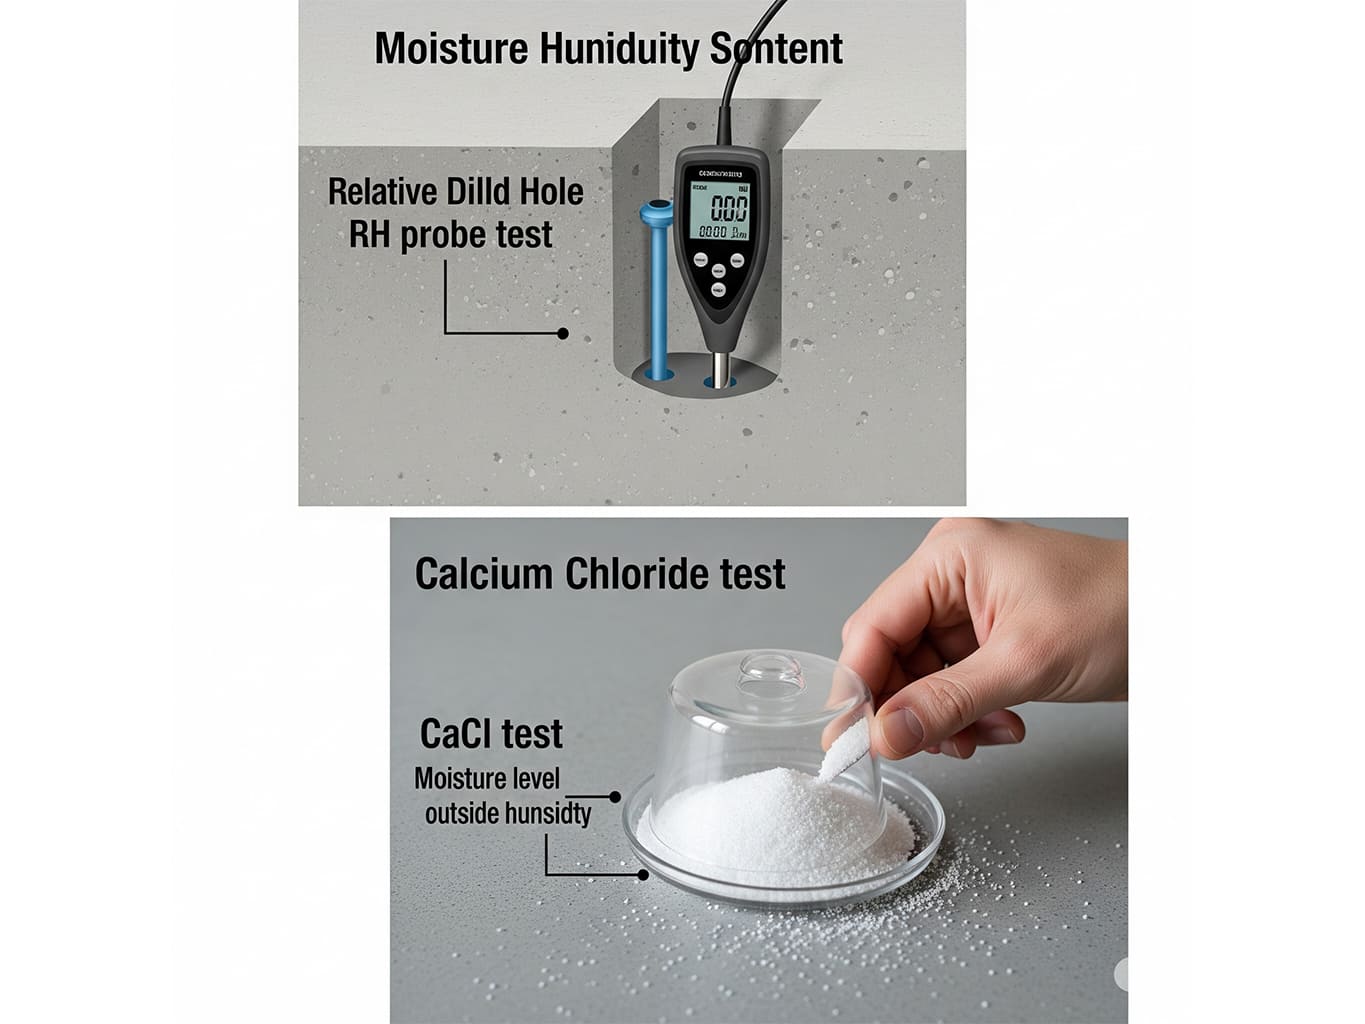
Distributors should educate installers on using relative humidity (RH) probes and calcium chloride tests. These methods accurately measure subfloor moisture content. Proper testing is essential to prevent LVP cupping and ensure a successful, long-lasting installation, protecting both product and reputation.

Moisture is the number one enemy of resilient flooring. You cannot see it, but it can destroy a perfect installation. I always tell my clients that testing is not optional; it is a must. Especially with concrete subfloors, moisture levels can change. Proper testing protects your investment and ensures our LVT and SPC perform as promised.
Relative Humidity (RH) Probe Testing
This is the most accurate and widely accepted method for concrete subfloors. Installers drill small holes into the concrete. They insert RH probes into these holes. The probes measure the relative humidity within the concrete slab. Readings are taken after allowing the probes to stabilize, usually 24-72 hours. ASTM F2170 is the standard. This test gives a precise picture of moisture conditions within the slab. It is reliable for long-term moisture levels.
Calcium Chloride (CaCl) Test
The calcium chloride test measures the moisture vapor emission rate (MVER) from the concrete surface. Installers place a dish of calcium chloride under a sealed cover on the subfloor. After 60-72 hours, the calcium chloride absorbs moisture. Installers weigh the dish before and after. The weight gain tells the moisture vapor emission rate. ASTM F1869 is the standard. This test is easy to do. It gives a surface-level moisture reading.
Why is this important?
Ignoring these tests is a big risk. High moisture levels under LVP cause cupping. This means unhappy customers and costly callbacks. As a supplier of high-quality LVT and SPC, we want your projects to succeed. Providing installers with the right tools and knowledge for testing is vital.
| Test Method | Measures | Standard | Benefits | Considerations |
|---|---|---|---|---|
| Relative Humidity (RH) Probe | Internal moisture within concrete slab | ASTM F2170 | Very accurate, long-term conditions | Requires drilling, stabilization time |
| Calcium Chloride (CaCl) | Moisture vapor emission rate from surface | ASTM F1869 | Simple to perform, cost-effective | Surface-level reading, time-sensitive |
How critical is using appropriate vapor barriers over concrete subfloors to avoid LVP Cupping?
Concrete subfloors hide moisture. If not controlled, it will damage your LVP. A proper vapor barrier is your best defense against LVP cupping.
Using appropriate vapor barriers over concrete subfloors is extremely critical to avoid LVP cupping. These barriers block moisture migration from the slab. They create a protective layer, ensuring the LVP’s dimensional stability and preventing moisture-related failures, preserving the floor’s integrity and extending its lifespan.

I cannot stress enough the importance of vapor barriers2. We manufacture LVT and SPC that are highly resistant to water. But this does not mean the subfloor is. Concrete slabs always have some moisture. This moisture can move up through the slab and cause problems like cupping. A vapor barrier is your protection against this.
What is a Vapor Barrier?
A vapor barrier is a material that resists the passage of moisture vapor. For LVP, it is typically a poly film sheeting or a liquid applied membrane. Its main job is to create a shield between the concrete subfloor and the flooring material. This stops moisture from the concrete from reaching the LVP.
Why is it critical for LVP?
Even though LVP itself is very water-resistant, it is still sensitive to moisture differences. When the bottom of the LVP plank absorbs moisture from the subfloor, it expands. The top of the plank does not. This difference in expansion causes the cupping effect. A vapor barrier prevents this uneven moisture absorption. It keeps the LVP stable. This is especially true for click-lock LVT and SPC, where moisture can get under the planks easily.
Types of Vapor Barriers and Application
There are two main types. Sheet vapor barriers are usually thick polyethylene films. They are rolled out over the concrete. Installers must overlap seams correctly and tape them to prevent moisture leakage. Liquid applied membranes are painted onto the concrete. They dry to form a continuous, seamless barrier. Both types need to be installed according to their specifications. This ensures full coverage and effectiveness.
| Vapor Barrier Type | Material | Application Method | Pros | Cons |
|---|---|---|---|---|
| Sheet (Film) | Polyethylene | Roll out, overlap, tape seams | Cost-effective, easy to install | Seams can be points of failure if not sealed correctly |
| Liquid Applied | Polymer-based | Roll or spray on | Seamless, better adhesion, durable | Requires drying time, more costly |
Conclusion
Empowering installers with knowledge about LVP cupping diagnosis, essential moisture testing, and proper vapor barrier use is crucial. This helps prevent costly issues, secures quality installations, and builds trust with your customers.
The above data is for reference only.
